Do you want to show a neat maintenance mode page while you update your website in the background?
By displaying a maintenance mode page, your website users won’t see broken pages or error warnings. Instead, you can show a professional placeholder page. This boosts user experience and keeps them engaged while your site is down.
In this tutorial, we’re going to show you how you can quickly set up a maintenance page and enable maintenance mode on your site.
What You Need to Enable Maintenance Mode in WordPress?
The easiest way to enable maintenance mode in WordPress is to use a plugin. This takes out the technical coding bits and makes it easy for you to just click a few buttons to create the page and display it on your WordPress website.
Our #1 pick of maintenance mode plugins for WordPress is SeedProd.

SeedProd is the best page builder plugin that comes with built-in coming soon and maintenance mode.
The plugin is user-friendly and easy to set up. You can choose from a library of page templates to create the maintenance page. There’s also a drag and drop visual builder to customize the design. This lets you add custom text, images, logos, and change the overall design to match your site’s branding.
You’ll be able to create beautiful pages like these for example:
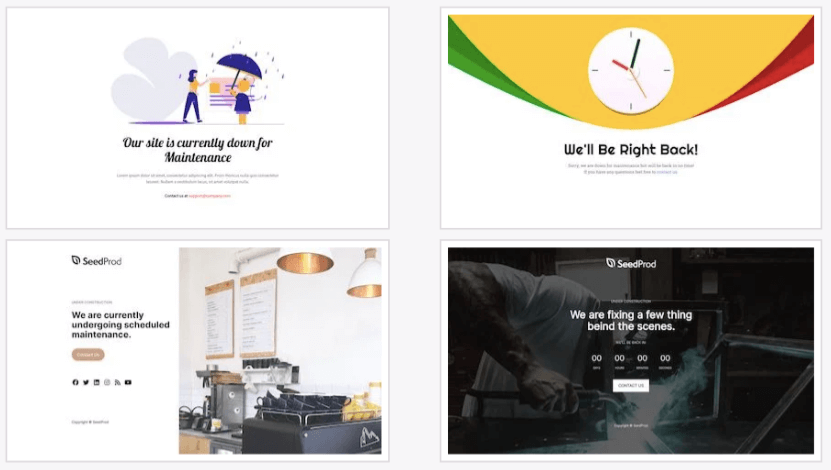
The designs are automatically responsive and look good on various devices. However, there is a mobile preview where you can make changes to ensure your customizations look good on mobile too.
Now, one of the most important parts of maintenance mode pages is that you may want to grant access to certain team members or clients. SeedProd has a setting that lets you give permissions to specific people to bypass the maintenance page.
Added to this, SeedProd is also SEO friendly. If you want search engines to not index your WordPress maintenance mode page, you simply have to enable a setting.
For other pages you create, you can use these settings to add a meta title, description, favicon, and social media thumbnail. This will help boost rankings on search engine page results.
SeedProd comes with everything you need and it’s so easy to use. There’s no need to meddle with backend files and HTML or CSS coding. Even if you’re just setting up your website and are new to this, SeedProd is beginner-friendly, you won’t have any trouble using it.
That said, let’s get started with the tutorial. You’ll learn how to create and display the WP maintenance mode page in just 4 simple steps.
How to Create a Maintenance Mode Page in WordPress
Step 1: Install SeedProd
SeedProd has a powerful pro plugin that we’ll use for this tutorial. This lets us show you what SeedProd is truly capable of.
The first thing you need to do is head over to the SeedProd website and sign up for a plan. Then you’ll get a plugin file to download and a license key to copy.

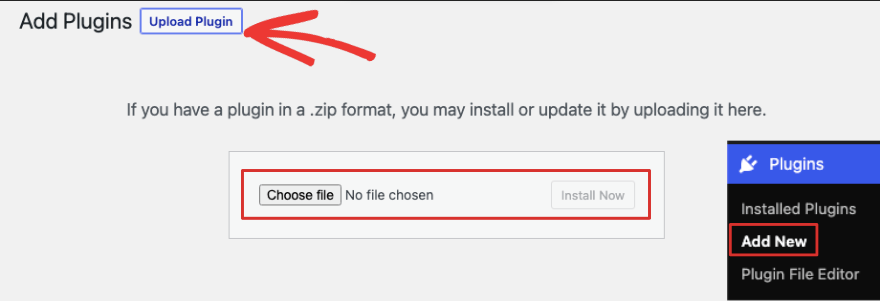
You can install the plugin on your site using the Plugins » Add New » Upload option.
Next, SeedProd gives you an option to paste your license key. Now, you’re ready to create the page.
If you want to access the free version of SeedProd, go to your WordPress dashboard. Go to the Plugins » Add New page.
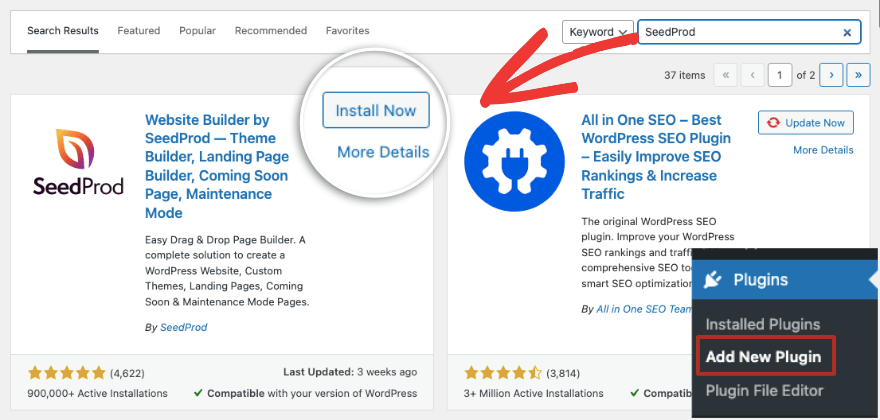
Here, search for ‘SeedProd’ and download and activate the plugin on your site.
Step 2: Create a New Maintenance Mode Page
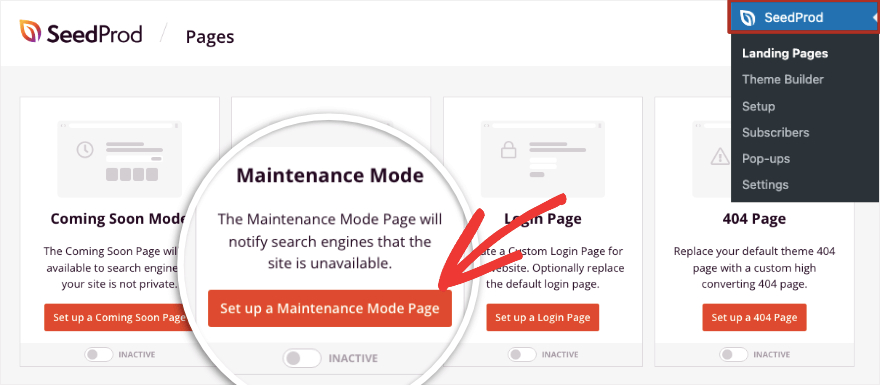
Once you’ve activated the SeedProd plugin on your site, you can access it from the left-hand menu in WordPress.
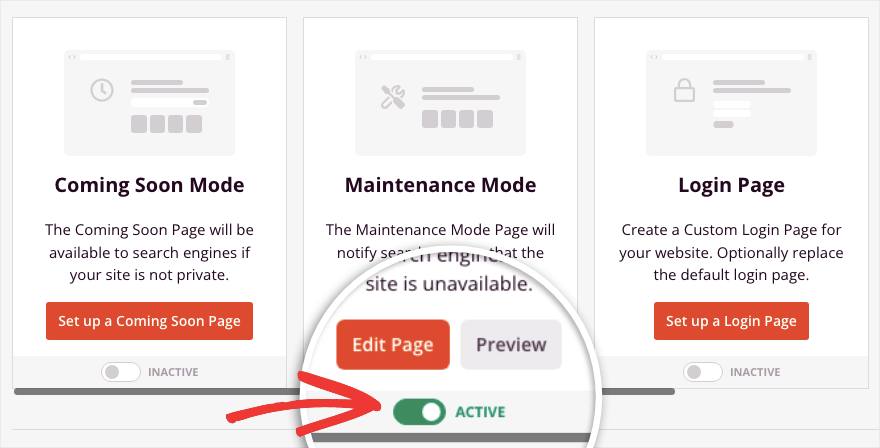
On this page, you’ll see that SeedProd has made it easy to access coming soon and maintenance mode. The second option that reads ‘Set up a Maintenance Mode Page’ is the one we want.
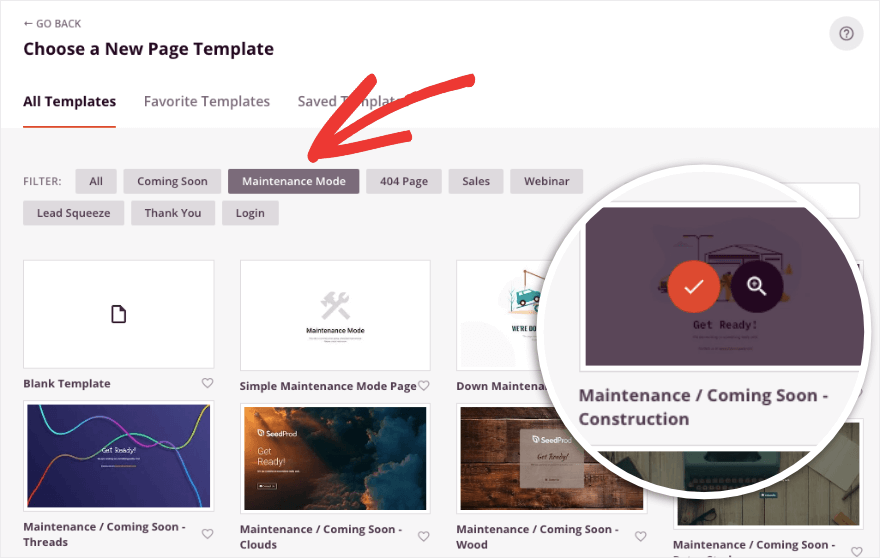
When you click on this button, the template library will open up. Here you can filter the templates by ‘Maintenance Mode’ to view more relevant designs.
You can preview the different templates here that are fully customizable. When you’ve selected one that matches your WordPress theme or branding, use the red tick icon to start customizing it.
Now the SeedProd builder will have launched. You’ll see a frontend preview of your design on the right, and an editing taskbar on the left.
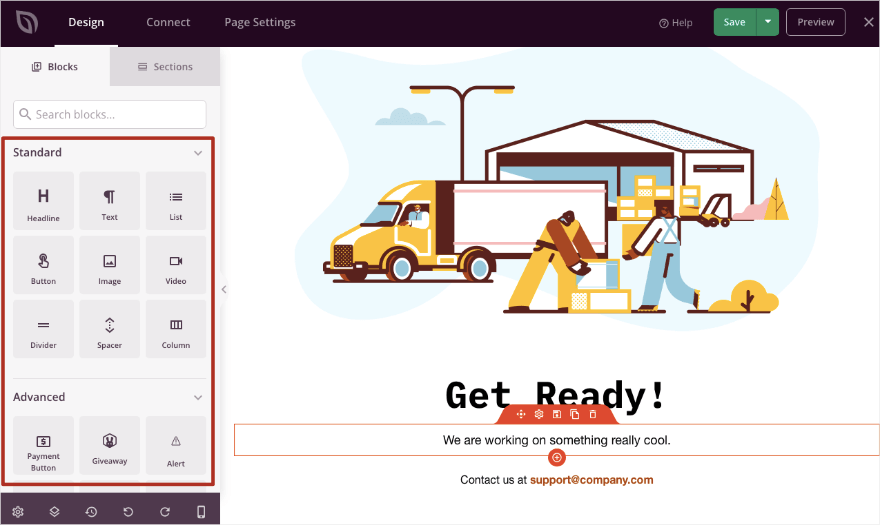
This builder is really easy to use. You can add new elements like animated headlines, contact forms, buttons, and images. You just have to drag and drop blocks, modules, or sections into your design.
Now let’s get started by changing the image in this design. Simply click on the image, and you’ll see an option to edit it on the left.
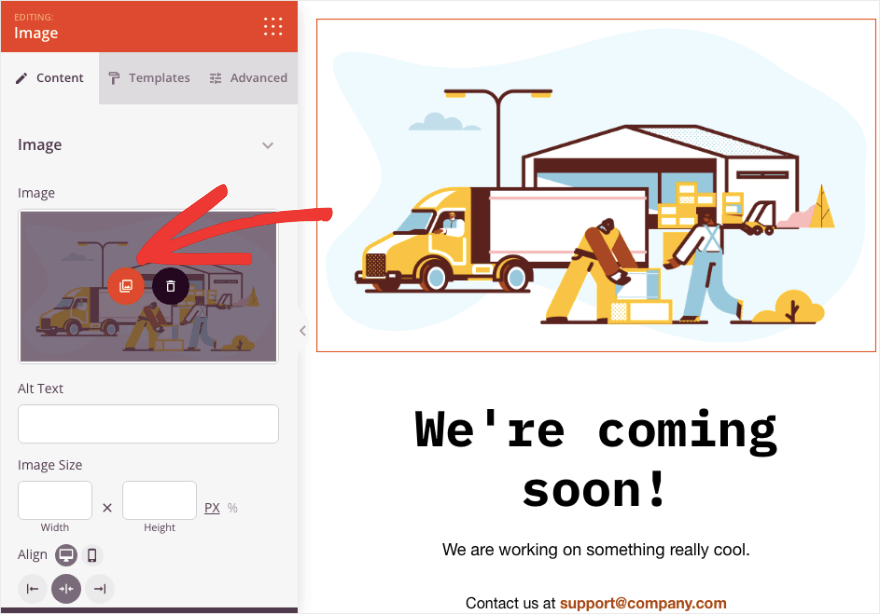
Here you can select a new image from your media library or upload one from your local computer.
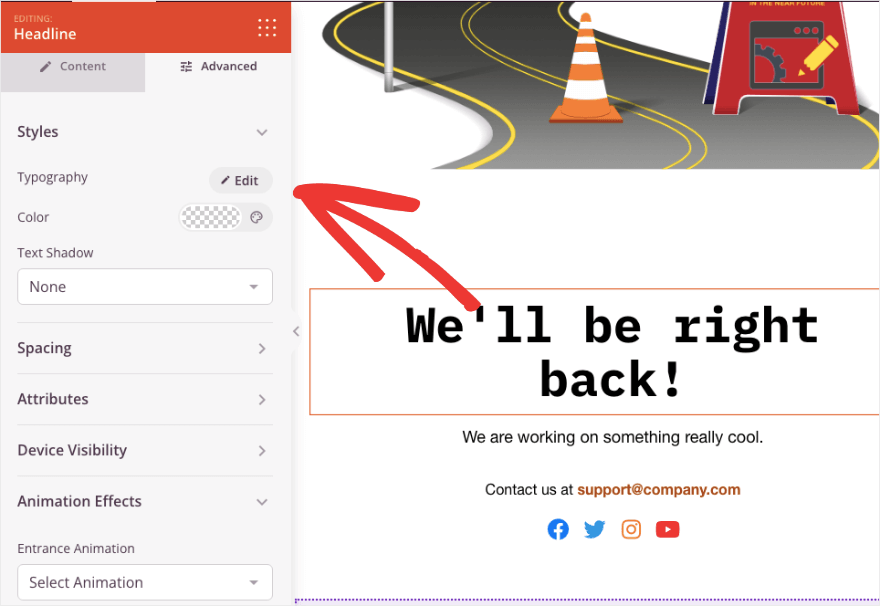
Next, let’s change the text. Simply select it, delete, and enter the text you want, like this:
In the left menu, you can change the alignment, font format, add a hyperlink, and more. If you switch to the Advanced settings tab, you’ll get more customization options including typography, spacing, device visibility, and animation effects.
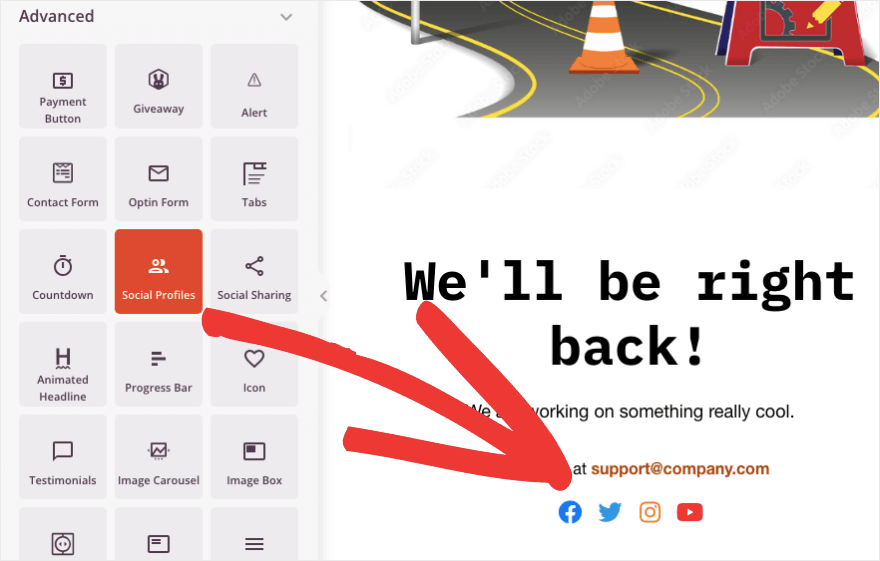
Now let’s add a few elements to make this page more interesting. You could add social profiles so that users can visit these pages instead while your site is down.
Simply drag and drop the Social Profiles block from the left menu to where you want it on your page.
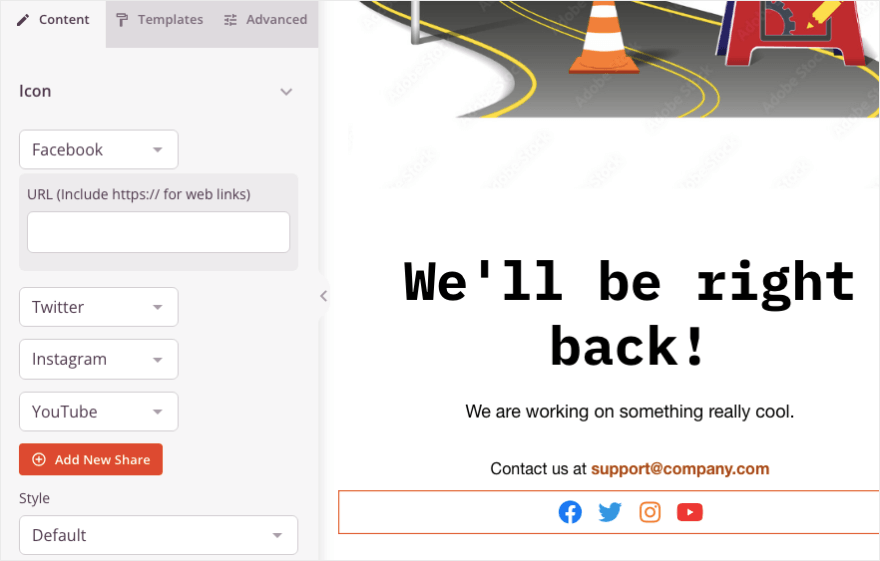
When you select the new block, you’ll see options to add the URL for each social icon.
You can add new social media icons, change the style, spacing, and more. SeedProd supports all popular social networks including LinkedIn, Slack, Snapchat, TikTok, Medium, SoundCloud, IMDb, Discord, and more.
Aside from this, you could also let users know when your website will be back up by adding a countdown timer. Drag and drop the Countdown Timer block into your design and it will appear like so:
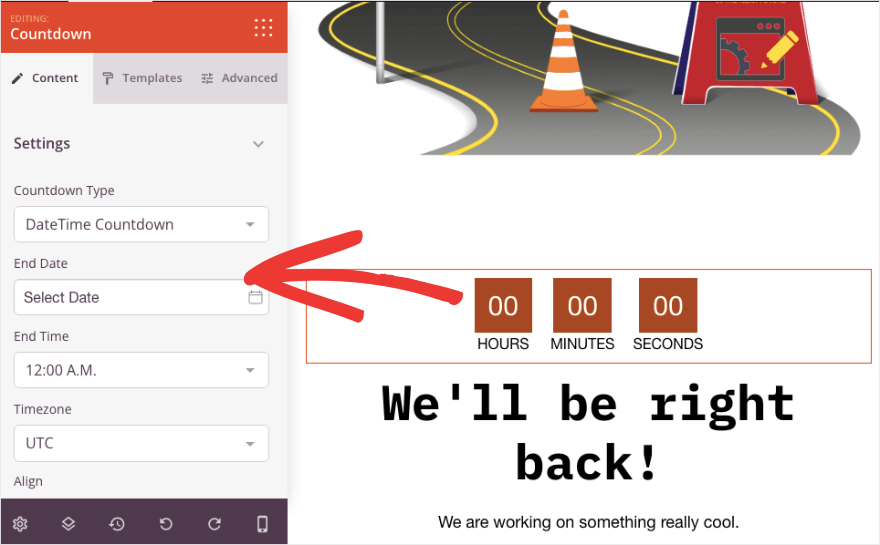
In the left taskbar, you can add the end date and time, and even the timezone. There are also different templates you can choose from to make the timer match the rest of your design.
Like this, you can add, edit, or delete as many elements as you like. If you choose any block, you’ll see a top menu bar appear over it.
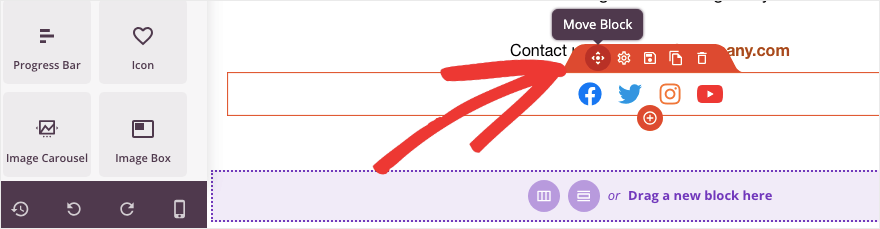
This lets you reorder your elements, duplicate the block, delete it, and more.
Another important setting is the mobile preview. This lets you view your page design as it would look on mobile devices.
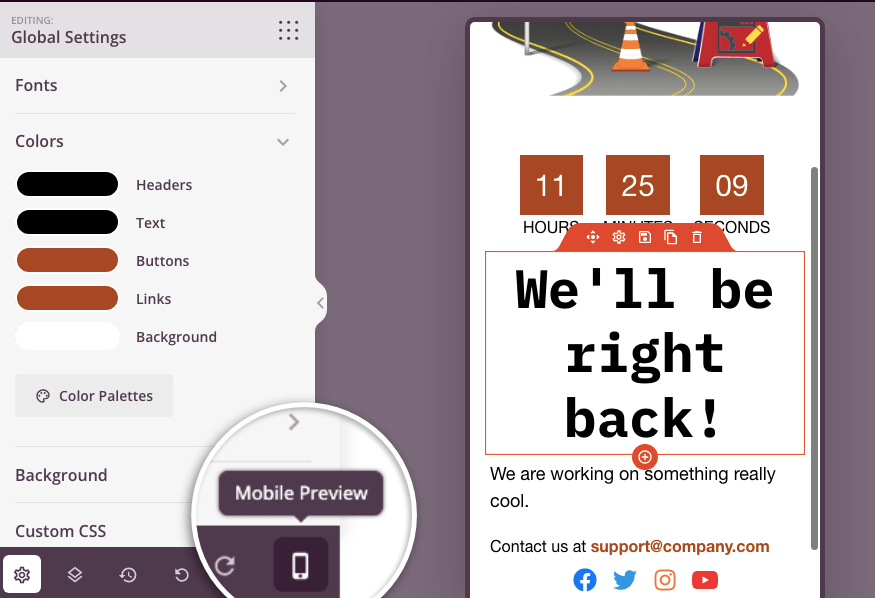
One more thing, on the far bottom-left corner, there’s a Global Settings button.
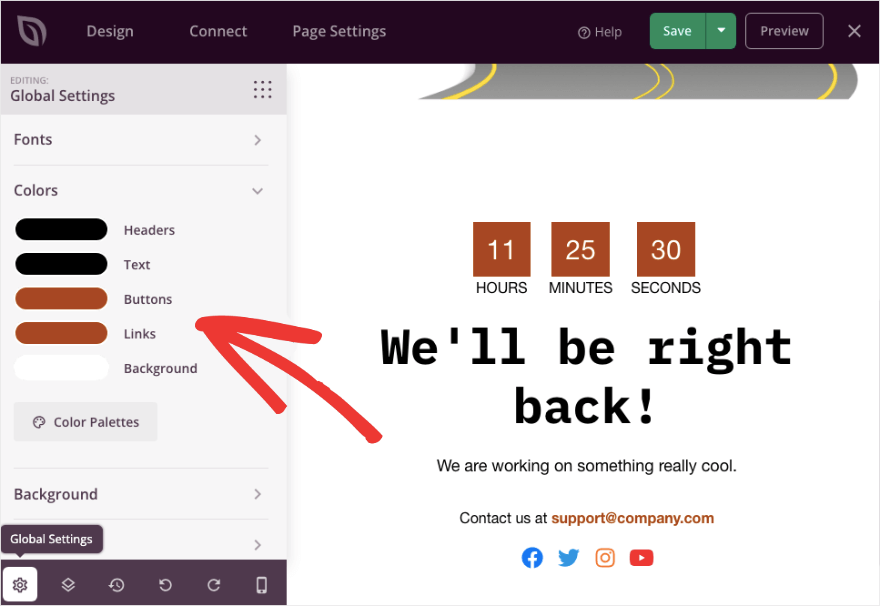
This lets you set fonts and color palettes that can be applied universally across the whole design. You can also add a background color, background image, and custom CSS here
That’s it! You’re maintenance mode page is ready. Make sure you Save settings. The Save button is at the top-right corner of the page.
Next, we’ll configure a few settings and publish the page.
Step 3: Edit Page Settings
SeedProd is a really powerful WordPress plugin with advanced maintenance mode settings. We’ll touch upon the most important ones you need for your maintenance mode page.
First, under the Connect tab, you can integrate your page with your email marketing account. This way, any new leads you collect can be added to your email list right away.
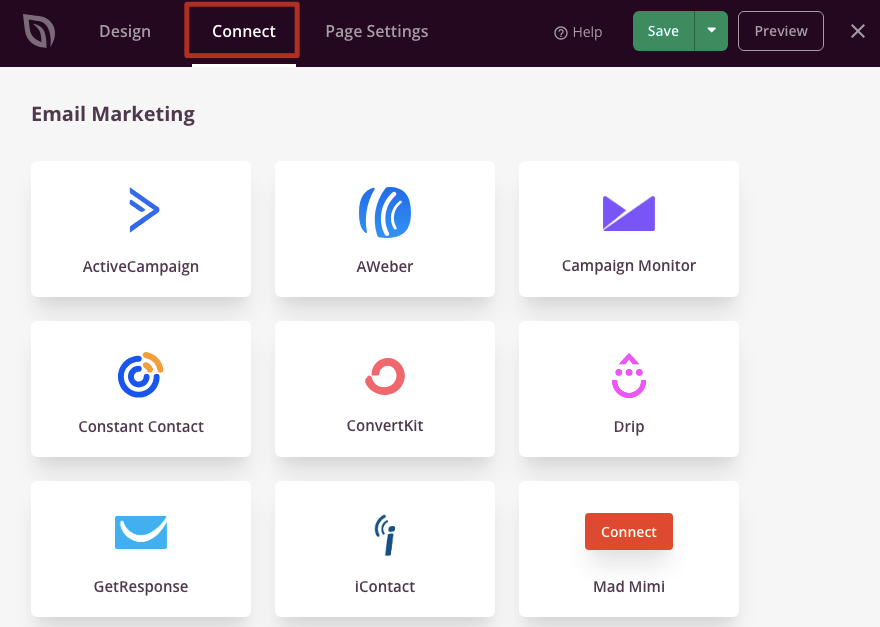
Choose your preferred provider and follow the onscreen instructions to connect your account. In most cases, you simply have to log into your account and add your API key. That’s it.
It’s worth noting that you can also connect to Google Analytics to track the performance of your pages. You can also enable Recaptcha to keep spam bots out and protect your optin forms.
Next, under Page Settings, you can open the Access Control tab. Here, you can grant access to specific people by IP address or by WordPress user role.

You can also include/exclude URLs that you want them to be able to view. So for instance, you can allow the user to view only the home page. Or you can allow them to view certain URLs and exclude others that you’re still working on.
After this, under the SEO tab, you can Enable No Index here. This will ensure that search engines like Google do not index your page.
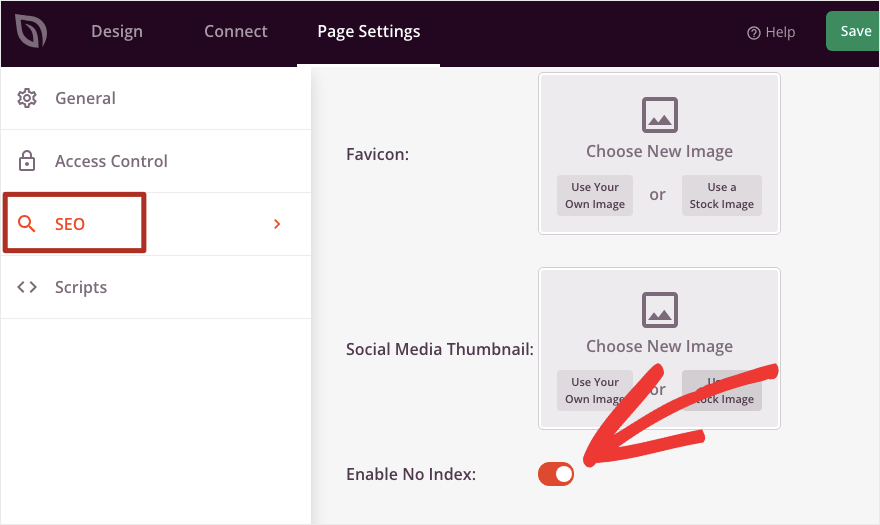
This simply means the page won’t show up in Google search results pages.
Make sure you Save your settings at the top of the page. Now you’re ready to publish the page.
Step 4: Enable Maintenance Mode
Head over to the General tab and switch the ‘Page Status’ from Draft to Publish.
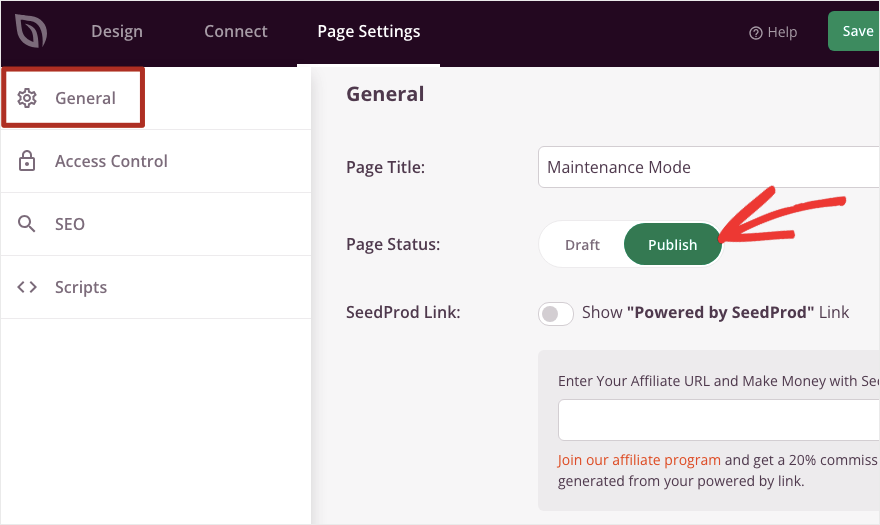
Once you do that, you’ll see a popup appear to enable maintenance mode.
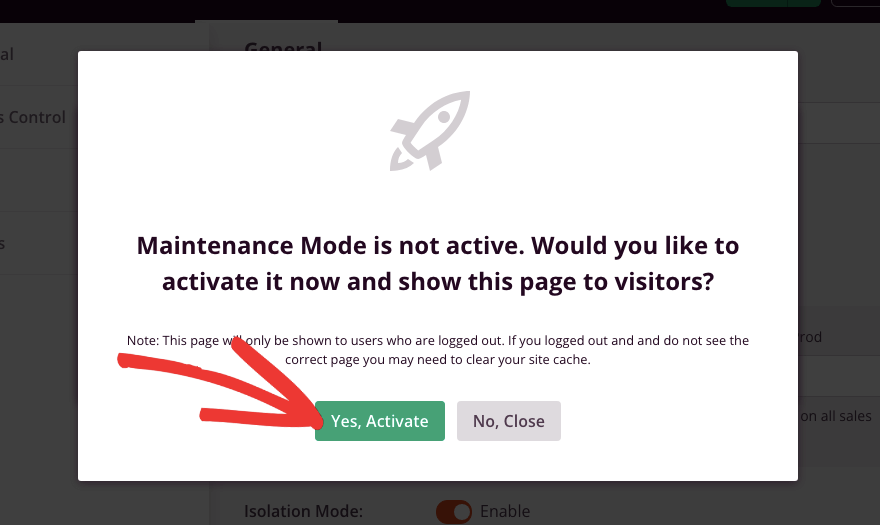
Hit the ‘Yes, Activate’ button and you’re done.
Now, in case, you want to enable maintenance mode later, you can exit this popup and exit the builder as well.
Back on the SeedProd plugin’s home page, you’ll see the option to activate or deactivate maintenance mode any time you need.
That’s it! You’ve learned how to set up a maintenance mode landing page as well as how to enable it when you need it. You can use maintenance mode any time you need to take your site offline to update WordPress, fix downtime issues, test new plugins or themes, and troubleshoot errors.
You can also enable coming soon mode when your site is still under construction. You can display a stunning coming soon page and get people to sign up for your email newsletter or follow you on social media even before you launch your site.
SeedProd is a really powerful page builder so you can continue to use it to create beautiful pages for your live site. This includes optin pages, event promos, webinar signups, and more. It also integrates with WooCommerce (a WordPress eCommerce plugin), so you can build product pages and sales pages.
We hope you found this step-by-step tutorial on how to put WordPress in maintenance mode easy. Up next, you may also want to learn How to Backup Your WordPress Site (The Right Way!).
When making changes or updating your site, there’s always the risk of losing data. It’s always best to back up your website regularly so that you have a copy to restore when things go wrong.
Interested in mastering WordPress through easy video lessons?